



CAD to Finished Jewellery: A Buyer Approval Workflow
A reliable CAD-to-finished jewellery workflow separates design approval from production approval. The buyer first freezes the product brief, then reviews the CAD at stated dimensions, confirms metal and stone specifications, records every revision, approves a physical sample when the project requires one, and releases a dated master specification for production. Final inspection should compare the finished piece with that approved version—not with an early render or an email thread.
This process helps independent jewellers, bespoke studios and founder-led fine-jewellery brands reduce avoidable misunderstandings. It also makes quotations, samples and small production runs easier to compare. Before CAD begins, prepare the information in this jewellery manufacturing RFQ checklist.
What does “CAD to finished jewellery” mean?
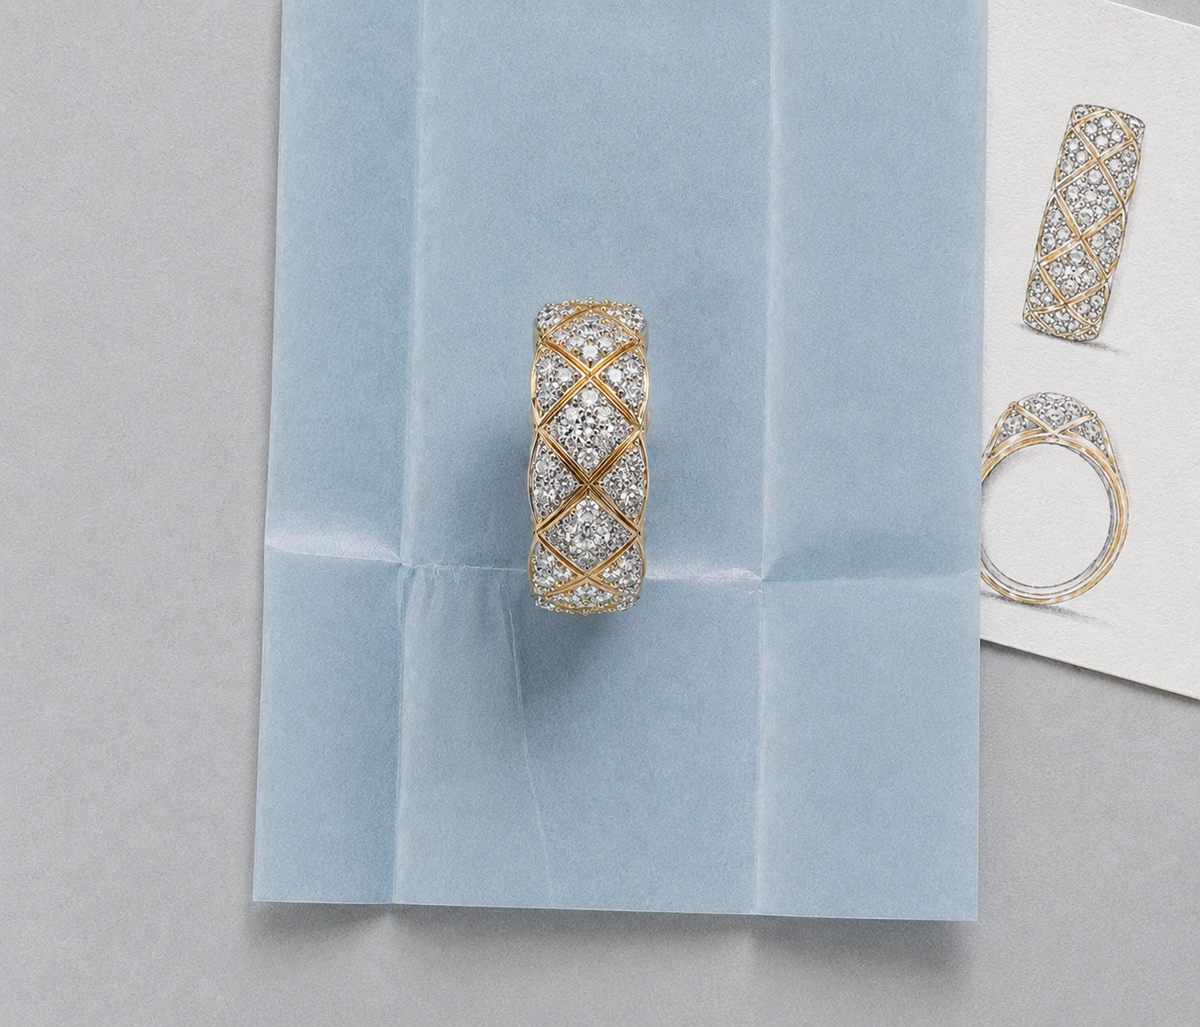
CAD, or computer-aided design, is a digital model used to define a jewellery piece before it is made. It can show form, dimensions, stone positions and construction details, but a CAD image is not the finished product. Screen scale, lighting and rendering can make proportions, metal colour and stone appearance look different from a physical piece.
The practical workflow therefore uses separate checkpoints. Each checkpoint answers a different question: Is the brief complete? Is the digital model correct? Does the sample work as intended? Is the approved version ready for production? Does the finished piece meet the recorded requirements?
1. Freeze the design brief before CAD work starts
Give each design a working name or SKU and create one source of truth. The brief should identify the intended product, dimensions, ring size or other fit information, metal, purity, colour, finish, stone details, setting style, engraving, logo placement, functional parts and packaging requirements.
Mark undecided items clearly. If both 14K and 18K gold are being considered, request separate options instead of allowing one party to assume the choice. If a centre stone has already been selected, include its measurements as well as its stated carat weight because two stones of the same weight can have different dimensions.
Reference images can communicate direction, but they do not replace measurements or establish permission to copy a third party’s design. Buyers should provide only material they have the right to use and should identify which elements are inspiration rather than instructions.
2. Review the CAD as a technical model
Review the model from the top, side, front and back. Ask for critical measurements rather than judging only from a large screen image. Check the overall height, band width and thickness, setting profile, stone spacing, clasp or hinge clearance, engraving area and any surfaces that contact the wearer.
| CAD checkpoint | Buyer question |
|---|---|
| Overall proportions | Does the piece match the intended visual scale at actual dimensions? |
| Stone layout | Are the quantity, shapes, sizes and positions correct? |
| Wear and function | Are edges, openings, articulation and fit appropriate for the design? |
| Brand details | Are the logo, hallmark area and engraving correctly placed? |
| Variants | Which dimensions change across sizes, metals or stone options? |
A render can help visualise the idea, but it should not silently replace the dimensioned model. Record approval against a CAD version number and date.
3. Confirm metal and stone assumptions
Before approving the model, confirm which specifications are fixed and which still affect the quotation. For metal, record the type, purity, colour, finish and any plating. Ask how estimated metal weight will be treated if the final approved design changes.
For every stone, record type, growth origin where relevant, shape, measurements or weight, quantity, colour and clarity range, treatment disclosure, grading-report requirement and whether the buyer or production partner will supply it. If a stone is buyer-supplied, agree how its measurements will be checked before the setting is finalised.
For diamond specification context, see Efi & Co’s diamond buying guide. Commercial projects should still define the exact stone requirements in writing.
4. Choose the right physical approval stage
Not every project needs the same sequence. A render may be enough to approve appearance, while a resin or wax model can help assess scale and proportion. A metal prototype can test weight, movement, finish or assembly, and a fully set sample can confirm the complete result before a repeat run.
Decide what the sample is meant to prove before ordering it. A sample made in a different metal or with substitute stones may answer questions about dimensions, but it may not confirm the final colour, weight or setting appearance. Write down these limitations so the sample is not treated as evidence for features it did not test.
Efi’s bespoke process overview shows a customer-facing sequence for developing an individual piece. A trade buyer should add its own documented approval and quality requirements.
5. Control revisions in one change log
Use numbered files and consolidate feedback into one list. Avoid approvals scattered across email, messaging apps and annotated screenshots with different dates. For every change, record what was requested, who approved it, the affected file and whether the change alters price, timing or another specification.
- Keep the original brief and every approved revision.
- Use one current CAD filename and version number.
- Label superseded files so they cannot be mistaken for the final model.
- Confirm whether a revision requires a new quotation or sample.
- Do not release production while open decisions remain unassigned.
6. Approve the sample against written criteria
Inspect the sample systematically. Depending on the design, this may include dimensions, fit, comfort, stone security, symmetry, alignment, surface finish, polish, plating coverage, engraving, logo placement, clasp operation, articulation and matching across a pair.
Photograph and measure any requested changes. Replace vague comments such as “make it better” with a defined instruction and, where possible, a target measurement or visual reference. After corrections, issue a short sample sign-off stating the approved version and any accepted differences.
7. Release a production master
The production release should combine the approved CAD, sample notes and commercial details in one controlled package. Include the quantity by style and variant, metal and stones, sizes, finish, packaging, required checks, delivery destination and agreed approval evidence.
For a first limited run, use the small-batch jewellery manufacturing guide to plan quantities, sample sign-off and inspection without creating unnecessary variants or inventory.
8. Inspect finished jewellery against the approved version
Final inspection should refer to the production master. Check the features that can be objectively confirmed and record any deviation. If a requirement was never defined, it is difficult to assess consistently after production.
Keep the final CAD reference, approved images, stone information, inspection notes and packaging specification together. This archive becomes the starting point for repairs, size changes, repeat orders and future variants.
CAD-to-finished approval checklist
- One named design or SKU
- Complete brief with open decisions identified
- CAD reviewed from multiple views at stated dimensions
- Metal, stones, finish and functional parts confirmed
- Version number and change log maintained
- Physical sample stage selected for the risks being tested
- Sample checked against written acceptance criteria
- Dated production master issued
- Final inspection compared with the approved master
- Files archived for repeat or revised orders
Frequently asked questions
Is a CAD render enough to approve jewellery production?
A render is useful for visual review, but approval should also cover dimensions, construction, metal, stones, finish and functional details. A physical model or sample may be appropriate when scale, fit, movement or surface quality cannot be judged reliably on screen.
Who should approve the CAD?
The person responsible for the product specification should approve it. For a bespoke retailer, that may require both internal technical review and written customer approval. Record the approver, version and date.
What should trigger a new CAD version?
Any change that affects geometry, dimensions, stone layout, setting, fit, function, engraving or other production information should be reflected in a controlled revision. Price or timing implications should be confirmed separately.
Should I order a sample before a small batch?
A sample is especially useful for a new design, new supplier relationship or feature that cannot be evaluated digitally. Define what the sample will test and what may still change before production.
How do I prepare for a repeat order?
Retain the approved CAD version, final specification, stone details, sample notes, inspection record and any accepted deviations. Confirm whether current material pricing, availability or requirements have changed before reordering.
Prepare your custom jewellery project
Efi & Co is a Hong Kong team that works with production partners on custom fine-jewellery enquiries. Send your design brief, existing CAD or reference material to the Efi & Co contact page, or email info@efidiamond.com. The team can review the information provided and identify which specifications still need clarification before quotation.


